Submitting an Institutional Claim
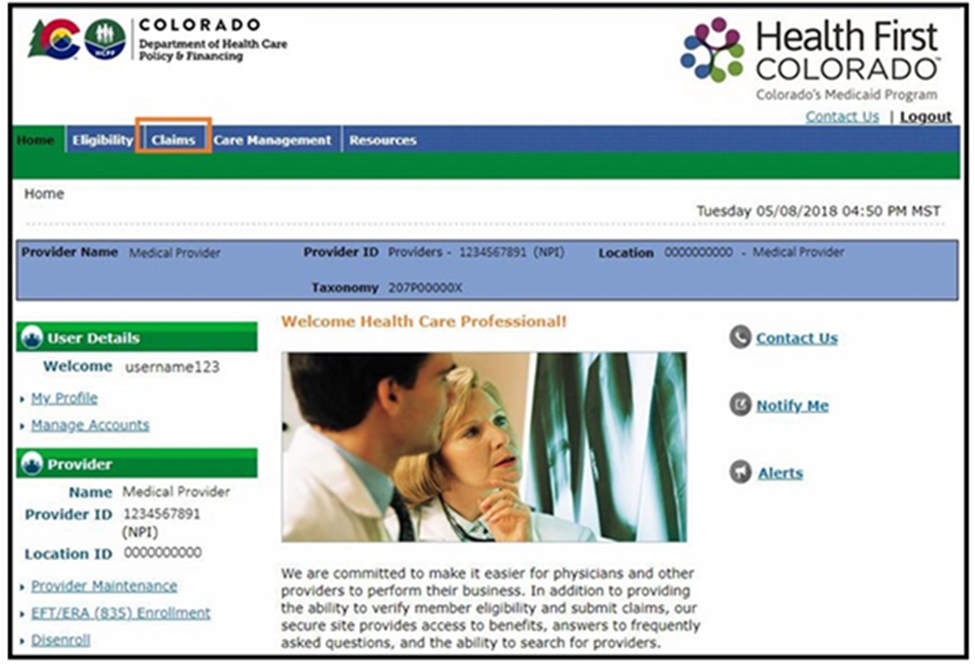
- Log in to the Provider Web Portal.
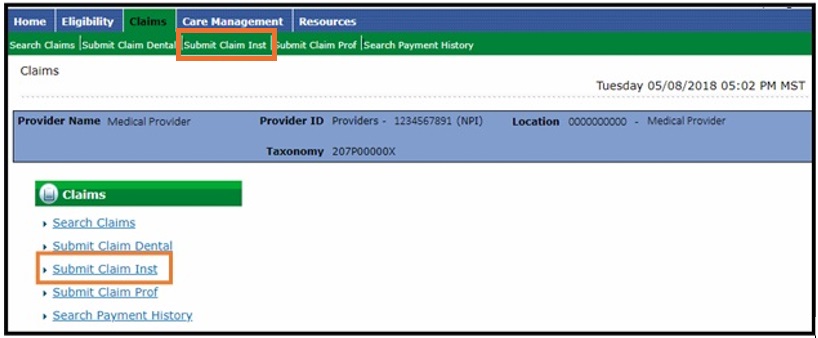
- Select Claims in the header.
- Select Submit Claim Inst.
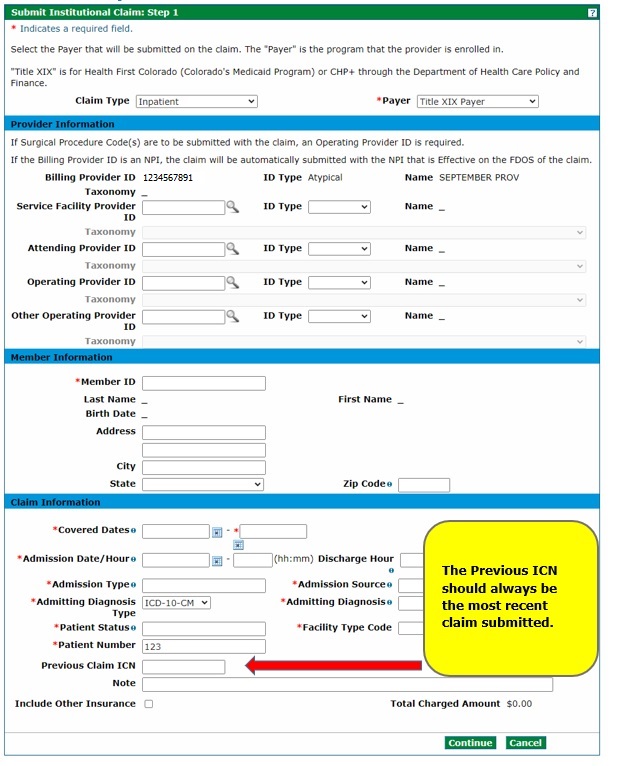
Submit Institutional Claim: Step 1 (Provider and Member Information)
Select the Claim Type (Inpatient, Crossover Inpatient, Outpatient, Crossover Outpatient or Long-Term Care). Enter the information needed for the claim on the Submit Institutional Claim: Step 1 panel.
The Long-Term Care claim type should only be utilized for nursing facility charges.
Enter Medicare information by selecting a claim type of Crossover Inpatient or Crossover Outpatient. Crossover Inpatient Medicare information will be entered on the Submit Institutional Claim: Step 1 panel. Crossover Outpatient Medicare information will be entered on the Submit Institutional Claim: Step 3 panel.
The Billing Provider ID will be used for claims payment. If the Billing Provider ID is a National Provider Identifier (NPI), the Provider Web Portal automatically selects the NPI that is effective on the from date of the Covered Dates in the Claim Information section and inserts that NPI into the Billing Provider ID field during Submit Institutional Claim: Step 3.
Completion of the Service Facility Provider ID field is conditional. If a provider has the same provider type for multiple enrolled service locations, the provider should use the unique NPI in the Billing Provider ID field. The provider may use the unique NPI in the Service Facility ID field if they choose. The Service Facility ID field must be completed if the NPI for the billing provider is different than the location where the service was rendered.
An Attending Provider ID is required on all institutional claims. The attending provider is the individual who performed or supervised the billed service.
Note: The fields with red asterisks (*) may be required. On the Submit Institutional Claim: Step 1 panel, providers must include the Member ID and a patient number, which can be any number the provider assigns for internal records. Also required are Covered Dates, Admission Date and Hour, Admission Type and Source, Admitting Diagnosis and Type, Patient Status and Facility Type Code.
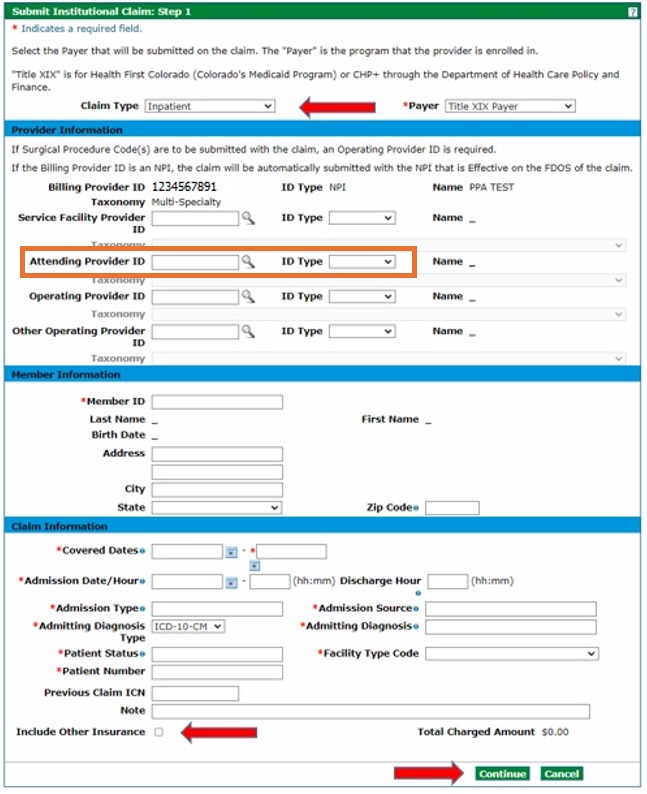
Note: Check the "Include Other Insurance" box to indicate a commercial (non-Medicare) Third-Party Liability (TPL) coverage. Refer to the Entering Other Insurance or Medicare Crossover Information Quick Guide on the Quick Guides web page for more information on submitting Institutional Claims with TPL, Medicare (Crossover) and Part B Only.
Click Continue.
Submit Institutional Claim: Step 2 (Diagnoses Details)
Enter the Diagnosis Type and Diagnosis Code information on the Submit Institutional Claim: Step 2 panel under Diagnosis Codes and click Add. Repeat to enter as many diagnosis codes as applicable.
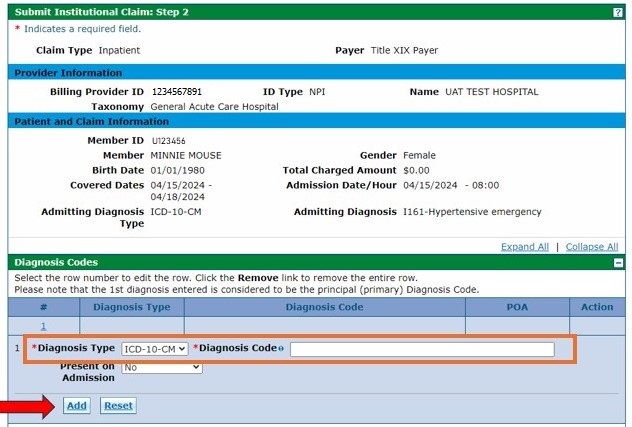
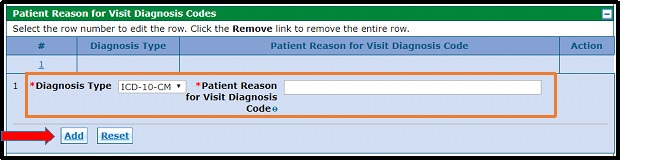
Note: Though marked with red asterisks (*), providers need to enter information in the following panels only if applicable:
- External Cause of Injury Diagnosis Codes

- Patient Reason for Visit Diagnosis Codes
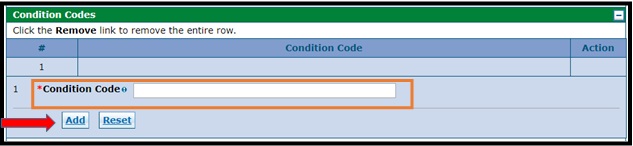
Condition Codes
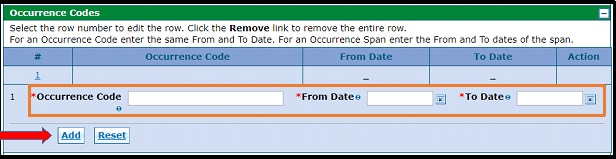
Condition and occurrence codes are located in the following UB-04 billing manuals: Dialysis, Federally Qualified Health Center (FQHC) and Rural Health Clinic (RHC), Home Health, Hospice Care , Inpatient/Outpatient, Nursing Facility and Private Duty Nurse.
- Occurrence Codes
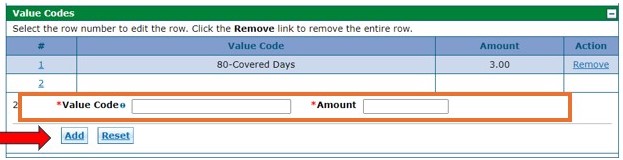
- Value Codes
- Surgical Procedure Type
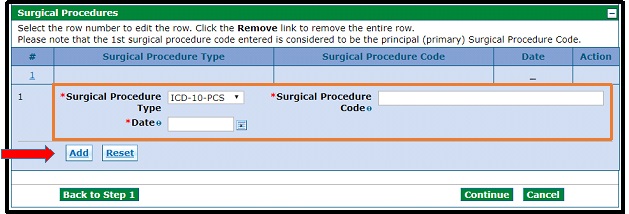
- External Cause of Injury Diagnosis Codes
Submit Institutional Claim: Step 3 (Service Details)
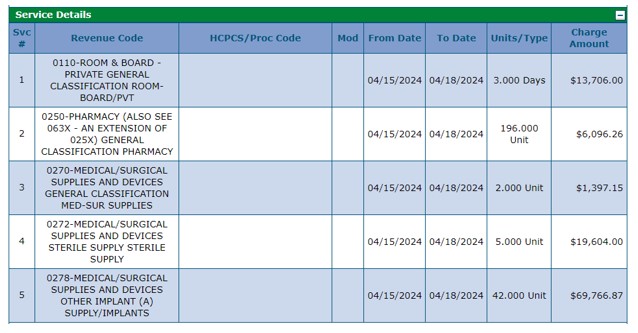
Enter service detail information under Service Details and click Add.
Note: The fields with red asterisks (*) are required, including revenue code, dates, charge amount, units and unit type. Line-item dates can be entered.
Repeat these steps to enter all service line items as applicable.
If applicable, upload any supporting documents under Attachments by clicking the [+] symbol.
Note: There are very few instances when attachments are needed. Attachments are not required for Third-Party Liability (TPL) Explanation of Benefits (EOBs), medical or session notes and explanations to have denied claims reconsidered.
Once all service details have been entered, click Submit.

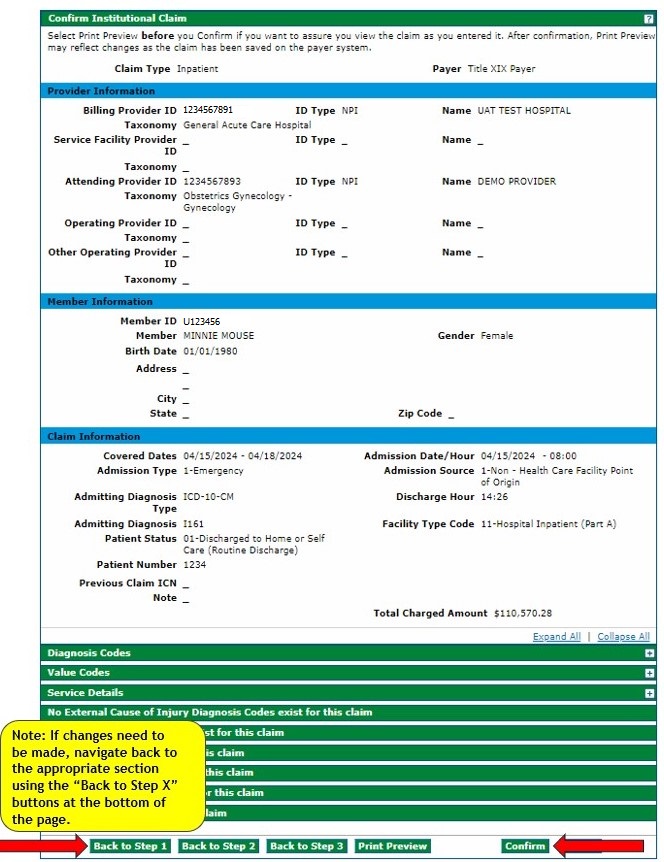
Confirm Institutional Claim
Review the information entered on the Confirm Institutional Claim panel. If correct, click Confirm.
Navigate back to the appropriate section using the Back to Step X buttons at the bottom of the panel if changes need to be made.
Note: Do not use the web browser's back button as it can cause errors on the claim.
The claim status and Claim ID (also known as the Internal Control Number or ICN) will be displayed on the Submit Institutional Claim: Confirmation panel.
Note: This will also appear on the Remittance Advice (RA).
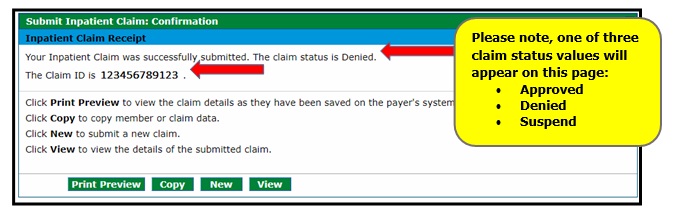
Note: A Suspended claim status in the Provider Web Portal means that the claim requires manual review by the fiscal agent Gainwell Technologies claims staff before a final disposition (status) can be assigned.
Suspended claims only display once on the RA and do not display on the 835. The claims will not appear again on the RA until the claims either deny or pay. Once claims are finalized, they will be reported on the RA and the 835.
- Resubmitting a Claim Outside of Timely Filing (Conditional) If resubmitting a claim after the date of service is past 365 days, enter the previous Claim ID (or Internal Control Number [ICN]) in the field Previous Claim ICN. Claims must be resubmitted within 60 days of the last action (i.e., RA, returned paper claim or load letter) in order to adhere to timely filing guidelines.
Need More Help?
Visit the Quick Guides web page to find all the Provider Web Portal Quick Guides.