Account Log-in for Claim Submission
Claims will deny in the Provider Web Portal if users are not logged into the correct account based on provider type.
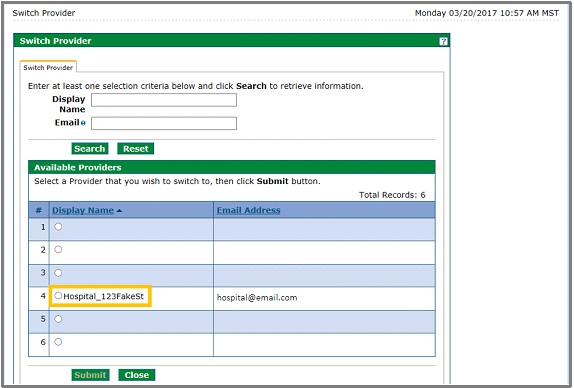
Example: If enrolled as a Nursing Facility and a Home and Community-Based Services (HCBS) provider, providers will have two (2) provider IDs, and should have two (2) Provider Web Portal accounts. Even a delegate, with claims access, needs to use the "switch provider" feature to select the correct account to bill under.
Nursing facility claims need to be billed from the nursing facility account, and HCBS Respite claims need to be billed from the HCBS account or claims will be denied.
Follow the instructions below to see which account is logged in. There are also instructions for changing the display name, to make it easier to identify which account is logged in.
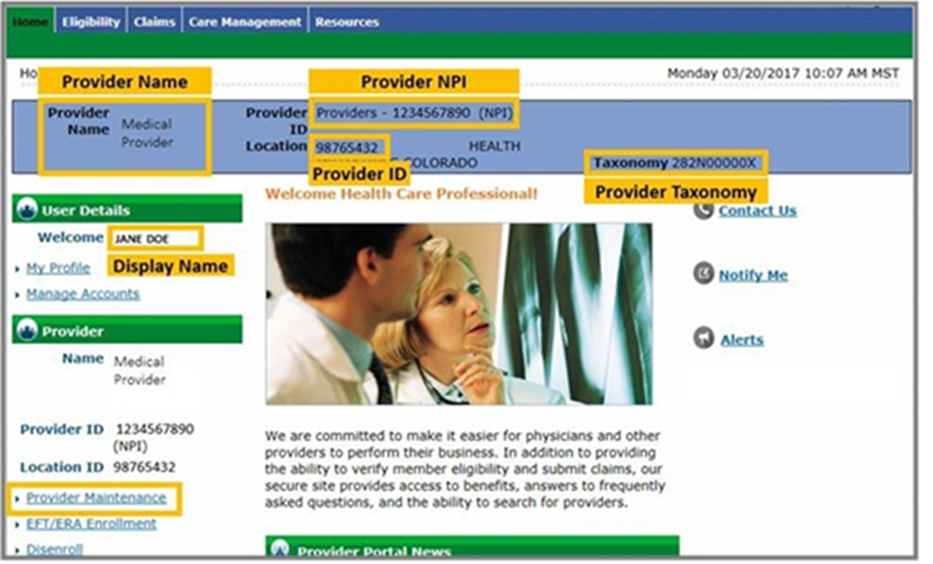
Log in to the Provider Web Portal as the provider (not as a delegate).
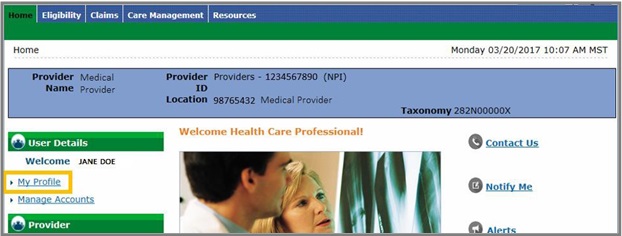
The blue bar at the top of the page will show basic information but does not show the provider type or address.
If the Provider Maintenance Link Does Not Appear: Being able to register for the Web Portal is not an indicator that the correct Provider ID is being used.
If a user is not logged in as a delegate and the Manage Accounts and Provider Maintenance links are missing, the account was registered using the wrong Provider ID or registered using the NPI and the Web Portal was linked to the wrong account.
How to Fix: Register for a new Provider Web Portal account, using the correct Provider ID (not the NPI). Contact the Department of Health Care Policy & Financing’s (the Department’s) fiscal agent (Provider Contacts) if the user does not know the correct Provider ID.
Nothing else needs to be done with the incorrect Provider Web Portal account. Discontinue using it.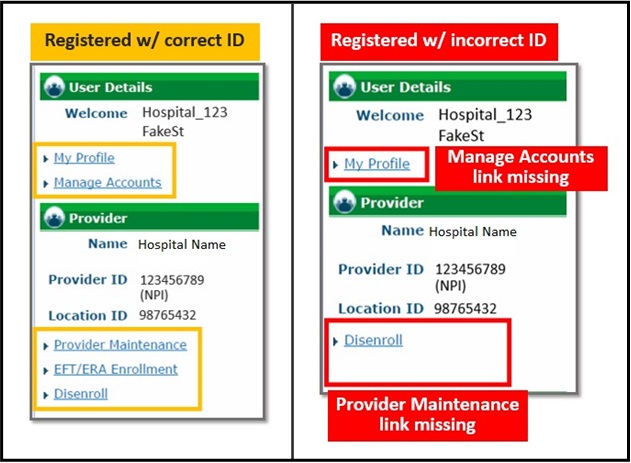
Another indicator that the wrong ID is being used is under My Profile → Roles.
Provider Restricted means either the provider registered using the wrong ID or the provider is not enrolled.

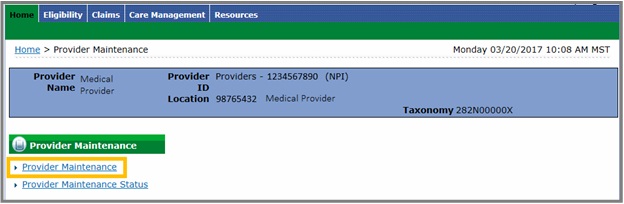
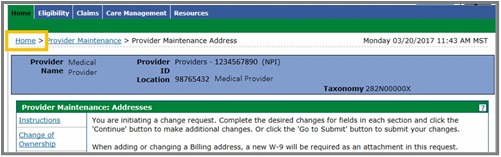
- Click Provider Maintenance to see what provider type and location is logged in.
- Click Provider Maintenance again.
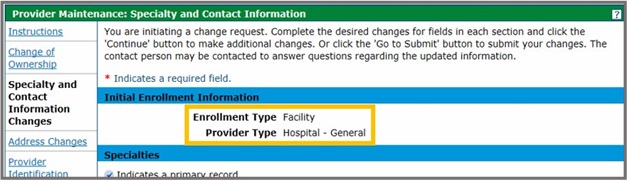
- Click Specialty and Contact Information Changes.

Note the provider type for this account.
The Provider Type in this example is a "Hospital - General". Submit claims for only this provider type when logged into this account.
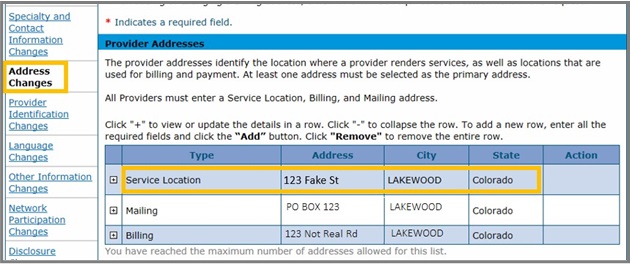
- Click Address Changes to see the service location for this account.
Note the address for this account.
- Consider changing the display name to reflect the provider type and location for this account.
Click Home to return to the Provider Web Portal home page.
- Click My Profile.
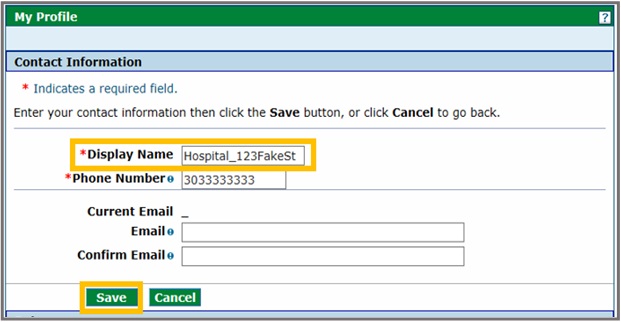
- Click Edit under Contact Information.
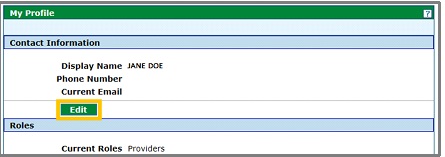
- Change the Display Name to reflect the provider type and service location for this account, then click Save.
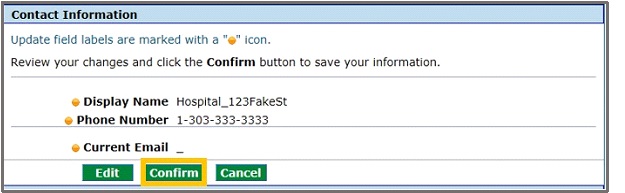
- Click Confirm.
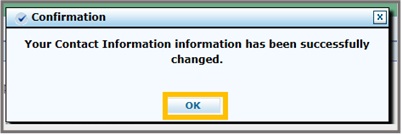
Click OK on the Confirmation message.
Note: The user should now be able to identify in the Provider Web Portal which account is logged in.
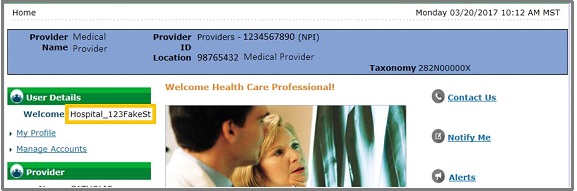
Delegates will also be able to identify under which provider type and location they are submitting claims.
- Repeat this process for the rest of the Provider IDs.
Need More Help?
Visit the Quick Guides web page to locate all Provider Web Portal Quick Guides.