Disenrollment
Table of Contents
Disenroll
Click Disenroll under the Provider section of the Provider Web Portal home page.
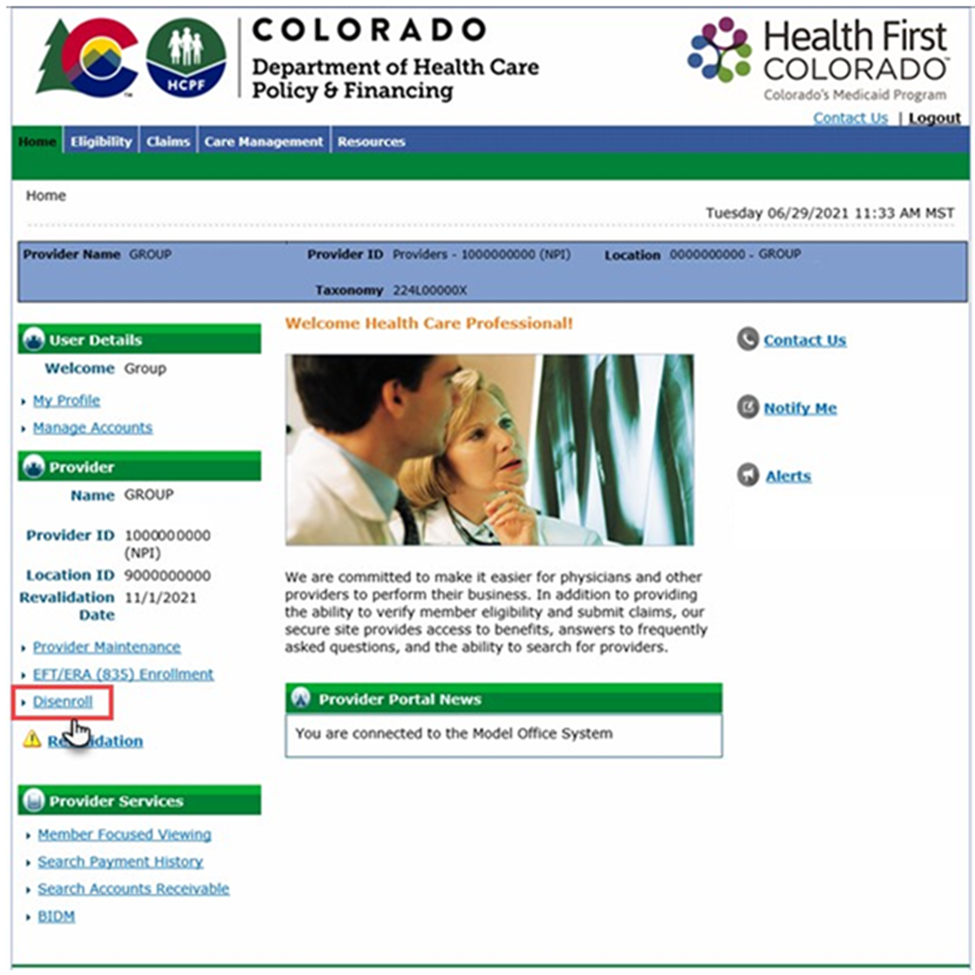
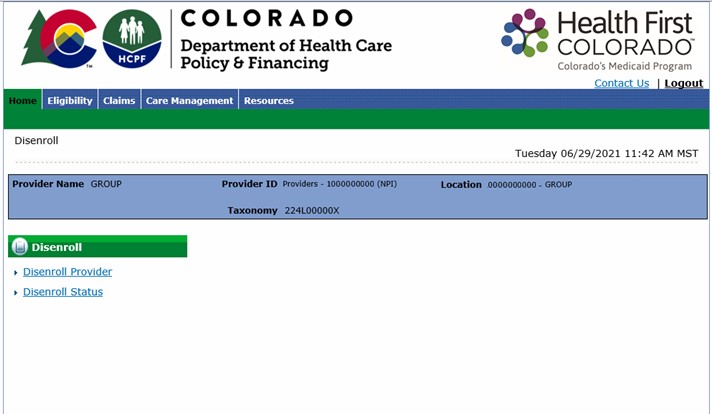
Click Disenroll Provider.
- Indicate the reason for disenrollment in the Disenroll Reason drop-down menu. Note: Disenrollment options include Change of Ownership, Closing the Business, Leaving the Health Care Field, Moving Out of State, Retiring and Other.
- Select a Requested Disenroll Date between a minimum of 30 days and a maximum of 90 days.
Note: Providers disenrolling for Change of Ownership may select a disenrollment date in the following range: From the first of the current calendar year (a retroactive date) and up to 90 days from the current date (in the future). Providers with this disenrollment reason must attach a completed Change of Ownership Form using the Attachment Type of Change of Ownership. The disenrollment request will not process successfully if this form is not uploaded. The form can be located on the Provider Forms web page under the Provider Enrollment and Update Forms drop-down. - Add an optional comment, if desired.
Complete the provider’s Contact Name, Contact Phone and Contact Email.
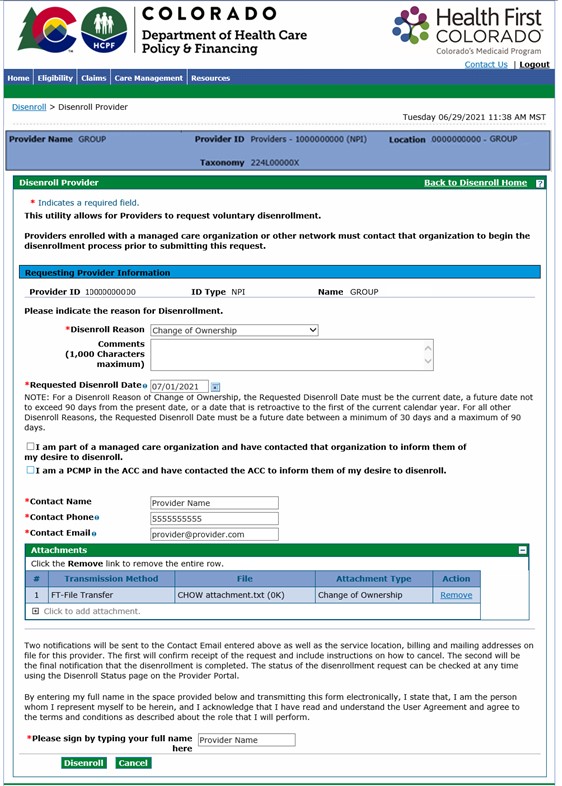
Click Disenroll.
Note: A disenrollment request tracking number will be created.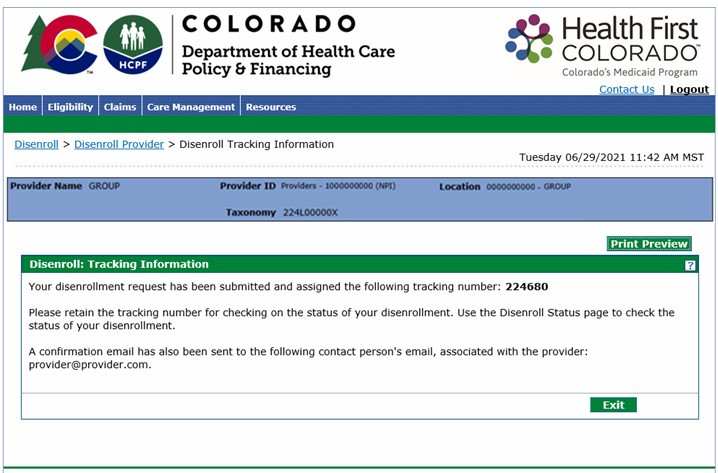
Verify Disenroll Status
Click Disenroll under the Provider section of the Provider Web Portal home page.

Click Disenroll Status.
- Enter the disenrollment tracking number.
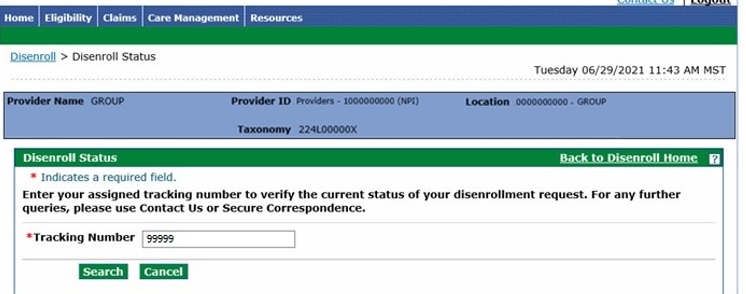
Click Search.
Note: Results will appear in the Disenroll Summary panel.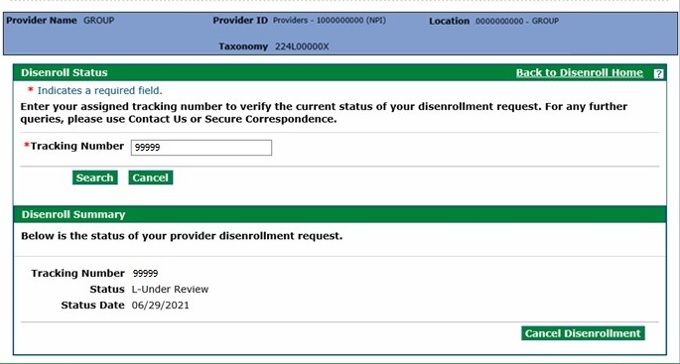
Cancel Disenrollment
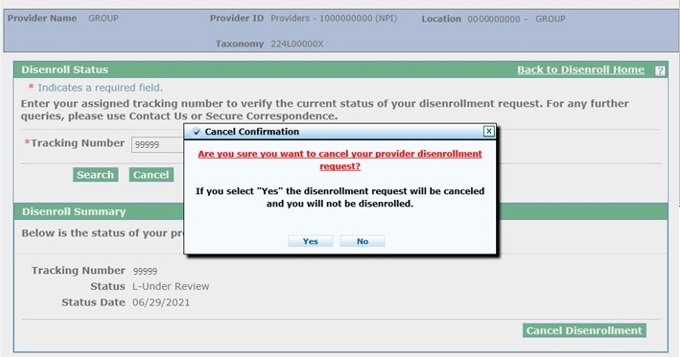
Providers may cancel a disenrollment request using the Cancel Disenrollment button. The cancellation option is no longer available once the button is removed.
- Follow the steps in the Verify Disenroll Status section. The Cancel Disenrollment button appears after results are displayed in the Disenroll Summary panel.
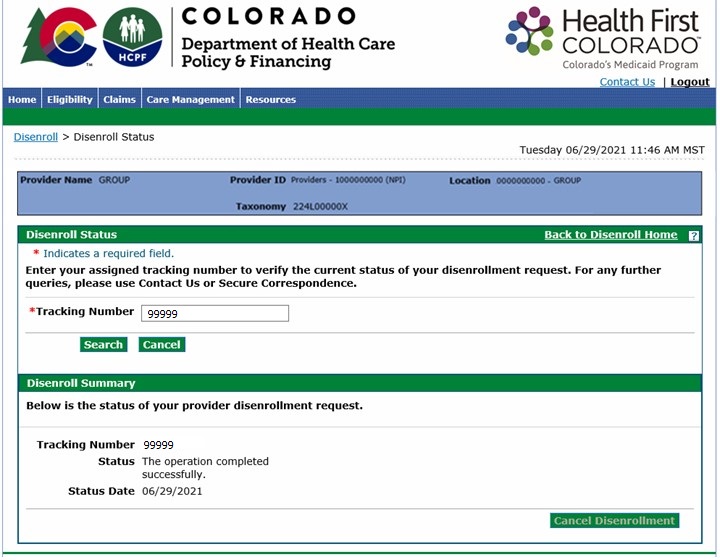
Click Yes to proceed with canceling disenrollment.
Note: Providers will see the updated status of Denied if the disenrollment status is verified again using the previous disenrollment tracking number.
Need More Help?
Visit the Quick Guides web page to find all the Provider Web Portal Quick Guides.